Mint is a fast-growing plant that can spread in no time. Its shallow roots and rhizomes expand quickly, and repotting often becomes necessary so it won’t outgrow its container. I’ve found that keeping an eye on it helps me avoid a messy takeover.
The most obvious sign that your mint needs a new pot is when the center of the plant looks bare. At that point, I trim away any dead parts, carefully remove the plant, and move it into a pot just one size larger—about 2 inches (5 cm) bigger in diameter. I like to give it dappled sunlight, rich soil with good drainage, and watch it bounce back.
Contents
Recognizing When Your Mint Needs More Space
One of my favorite things about gardening is growing a collection of mint plants. I love having different types all year long, thanks to their lush leaves and wonderful scent.

I’ve learned that growing mint in containers is a great way to manage their growth. Pots keep them well-behaved, preventing them from overtaking more space than I want. Even if I plant mint in the ground, I first sink the pot into the soil, leaving the rim visible above ground level.
With this technique, I can easily dig up mint plants and move them into larger containers as needed, even months later. Potting mint keeps its rhizomes from running wild in the garden, but the real question is: How do I know when my mint needs a bigger pot?
Here are several signs that your mint might need more room to thrive:
[1] Spotting Uneven Green Growth
Keeping mint foliage healthy all season long means paying attention to details. But a pot that’s too small can hurt its greenery, especially when it starts growing again after overwintering.
In most USDA hardiness zones, mint dies back in cold weather. I usually place its pot in a sheltered, unheated shed, greenhouse, or garage during winter. Even when it looks dead, I don’t give up. In early spring, once daytime temps hover around 55°F (13°C), I’ll often see tiny shoots and leaves re-emerge.
If it’s very dry, I’ll give it a light watering, and before long, my mint greens up beautifully. But if the new growth looks patchy or only appears around the edges, leaving the center barren, it may mean the plant is rootbound and needs a larger container. When the roots wrap tightly around the pot’s sides, the center can’t get enough energy to produce new leaves.
[2] Central Wilting and Die-Back
If the center of your mint is wilting or dying back, that’s another clue it’s outgrown its pot. I sometimes divide the plant into three or four sections and re-home each one in a new pot. Or, I simply move the entire plant into a bigger container.
[3] Identifying Leggy Growth
Leggy growth often means something’s off, usually a lack of nutrients like nitrogen, iron, or phosphorus. A rootbound mint can struggle to get what it needs, causing it to grow long and weak with few leaves. If I don’t repot, it just keeps getting leggier.
[4] Signs of Slow or Stunted Growth
If your mint’s growth has stalled or slowed, the roots might have filled the pot. Smaller leaves and sluggish expansion can point to a cramped root system struggling to absorb nutrients. Ultimately, the pot size limits how big your mint can get.
[5] Roots Poking Through Drainage Holes
Mint’s shallow roots usually stay near the surface, but if they’re crowded, they may push down and emerge from drainage holes.
Sometimes I even see roots creeping over the pot’s surface or sides. This is a clear sign the plant needs more room.
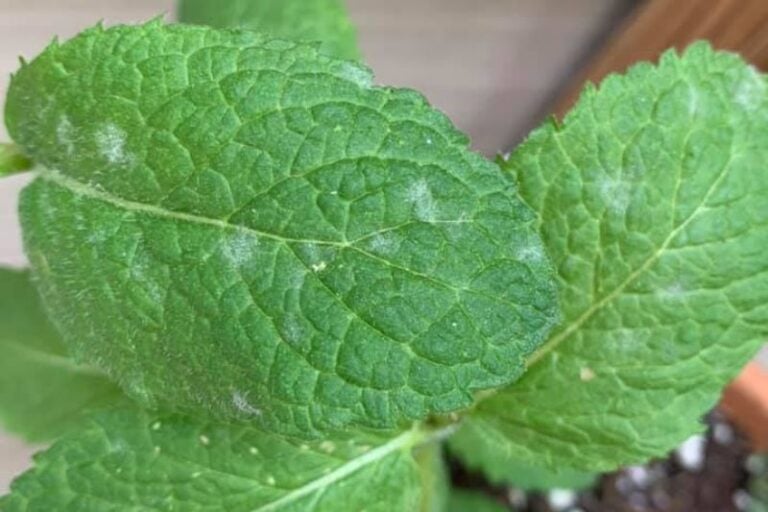
[6] Noticing Leaf Yellowing
Yellowing leaves can mean nutrient deficiencies or water issues. If your mint is rootbound, water and nutrients might just pass through too quickly, leaving the plant hungry and stressed.
[7] Other Warning Signs
Browning, leaf scorch, wilting, curling, and leaf drop can also appear when water and nutrients can’t circulate properly due to cramped roots. These symptoms often mean it’s time for a bigger pot.
Other Reasons to Repot or Transplant
Although rootbound conditions are the main reason I repot mint every two to three years, there are other valid reasons to give it a new home:
Refreshing Soil and Nutrients
If I bought my mint as a young plant in early spring, the nursery soil might not be the best. Over time, the soil can compact and lose its water-holding ability, leaving my mint undernourished. Repotting allows me to introduce fresh, nutrient-rich soil that helps keep my plant healthy and vigorous.
If I’ve overwatered or let the pot sit in standing water, the soil can turn soggy, risking root rot. Repotting with fresh, well-draining potting mix can save the mint from potential decay.
Separating Multiple Mint Varieties
I’ve noticed that planting different mint varieties together can cause them to lose their distinct flavors and scents.
Repotting lets me separate them, putting each variety in its own pot with fresh soil so they all keep their unique tastes and aromas.
Gathering Transplant Supplies
Before I start, I gather what I need:
- Essential Pruning Tool: A pair of sterile pruning shears, scissors, or a sharp knife to snip off dead stems, rhizomes, or diseased roots. I sterilize the tool with bleach or alcohol before and after use.
- Choose a Pot with Drainage: The mint’s roots are shallow and won’t need a much bigger pot. A new pot about 2 inches (5 cm) wider than the old one should do. Make sure it has at least two good drainage holes.
- Selecting Quality Potting Soil: I never reuse old soil. A general-purpose potting mix with a neutral to slightly acidic pH and excellent drainage works well for mint.
- Other Helpful Items: I might also need a garden spade or trowel, clean gloves, irrigation water, a bleach solution for cleaning tools, mulch, and compost to enrich the soil.
Choosing the Right Pot Size
When I select a new pot, I choose one about 2 inches (5 cm) bigger than the old one. That way, there’s room for another repotting in a year or so. I also ensure it has drainage holes.
A large enough pot allows an inch or two (2.5-5 cm) of base soil and space around the root ball for fresh soil and better root growth.
How to Transplant Your Mint
- Water Your Mint Plant: I water it 1-2 days before transplanting. This helps loosen the soil and reduce transplant shock, which can slow growth and make it more susceptible to pests and disease.
- Gather Everything You Need: I keep all supplies—tools, pots, soil—within easy reach so I can move quickly once I start.
- Labeling New Containers: If I have multiple mint varieties, I label each pot before planting. This keeps me organized and ensures I don’t lose track of which variety is which.
- Prep the Work Station: Transplanting can get messy, so I usually work outside. If I must work indoors, I lay down newspapers or cardboard. I may moisten the potting mix slightly so it’s evenly damp but not soggy. It should hold together without feeling muddy.
- Prepare the New Container: If the pot’s drainage holes are large (over about 0.5 inches [1.3 cm]), I cover them with mesh or a coffee filter. Then I fill the pot halfway with potting soil.
- Remove Your Mint Plant: I carefully remove the mint by turning the pot upside down and gently tapping it. If the root ball is dense, I might break it up a bit. If the plant is weak, I skip breaking it up.
- Clean Up and Tidy Your Plant: I snip off browning, dying, or diseased leaves and any rotten roots. This gives the mint more room to grow healthy new shoots.
- Replant Your Mint: I center the mint in the new pot and add soil around it until it’s at the same depth as before. I gently pat down the soil to remove air pockets.
- Press Down the Soil: I lightly press the soil to ensure good root-to-soil contact and add more if necessary.
- Place the Pot in an Ideal Position: I put the repotted mint where it gets dappled light, ideally an eastern spot with 3-4 hours of gentle morning sun. This reduces stress and helps it settle in more quickly.
Reducing Transplant Shock
To keep my mint thriving after transplanting, I minimize root disturbances, water it well a day or two before the move, and keep the root ball moist throughout the process. With these steps, my mint bounces back stronger, healthier, and ready to flourish.