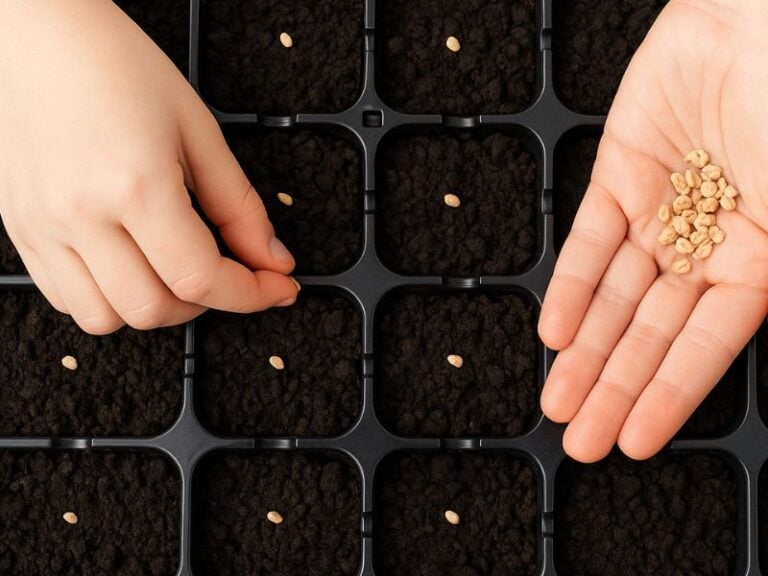
Growing your own fresh herbs doesn’t require a massive planting. If you pay attention to basic care, basil plants can grow lush and deliver a plentiful harvest. Cutting basil so it keeps growing is surprisingly simple.
The very first leaf trimming happens when the basil plant reaches about 6–8 inches tall. After that, I make sure to snip fresh greens every two weeks.
Contents
When to Harvest Basil
The window for harvesting basil stretches over a long period. Early in its life, when basil is still a young plant, the leaves are perfect for fresh use—ideal for salads, sandwiches, or just nibbling to show off to your friends!
Once the buds appear on this fragrant herb, the leaves become tougher. You can still collect them for drying, though. Simply allow the leaves to dehydrate thoroughly, then crush them up and keep them in a handy jar for sprinkling on all those cozy winter dishes.
You can typically cut basil leaves from the same plant two or three times in a season. The first harvest often happens in July, but the main cue is your plant’s size.
It really needs to grow to about 6 inches tall before you start plucking. In warmer parts of the United States, you’ll probably be harvesting earlier; in cooler regions, you might wait until early August.
Soil quality also affects how soon basil is ready. If your soil is nice and fertile, you’ll see healthy, leafy basil that you can harvest between about day 30 and day 45 of its life.
Once the basil flowers, I wouldn’t bother harvesting for fresh use anymore. By the end of the growth cycle, basil leaves tend to go tough, lose some of their aroma, and frankly, become a bit grouchy in flavor.
How to Pick the Leaves Properly
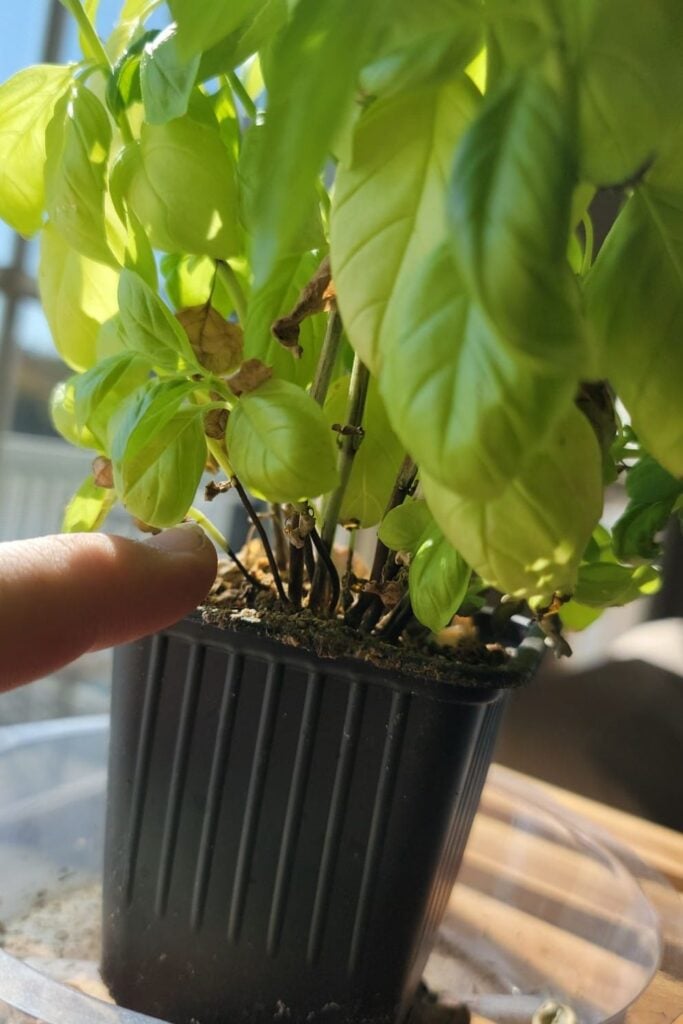
Picking basil correctly the first time encourages bushier growth. Try not to do this in rainy weather because the leaves end up waterlogged and lose a bit of their savory punch. A dry, warm day is ideal for gathering basil.
Here’s what you should keep in mind:
- Leave some leaves. To keep your basil growing, avoid stripping the plant entirely. It needs enough green surface area to power further growth.
- Use sharp scissors. Small and sharp scissors are my go-to for neat snips. Some folks try to harvest with their hands, but I find that often leads to torn stems and fewer good vibes for the plant.
- Snip the top. For the plant to branch out, first remove the tip of the main stem. You can pinch it off with your fingers—just go gently.
- Don’t cut too low. Once you pinch the tip, the lower part of the basil will branch out.
- Focus on the upper parts. After the initial snip, I only remove the top sections of side shoots and the leaves closest to the main stem.
- Go easy on radical cuts. If you cut it back too harshly, the basil plant won’t recover well. A careful, balanced trim doubles the number of new leaf pairs, so you’ll have fresh growth in no time.

One big no-no is pulling the plant out by the roots, because it won’t re-root. If you ever find yourself without scissors, pinch the stem gently with your fingernails just below the top leaves, supporting the rest of the plant with your other hand.
What Happens If You Get the Timing Wrong
If you harvest basil leaves more often than every two weeks, you’re basically robbing the plant of enough time to replenish. The new leaves will be tiny, less flavorful, and lower in vitamins—total heartbreak.
On the flip side, if you harvest too infrequently, basil won’t branch out, and it’ll start gearing up for flowering. Regular cutting is the real secret here. You’ll keep getting top-notch leaves, and the plant will grow thicker and more robust, putting off flowering until later in the season.
If you prefer one big harvest each time, you might do it in late June, mid-August, and the second half of September. Or you can just cut a handful of leaves every three or four days to toss into your salads, sauces, or secret family recipes.
Care After Harvest: Help Your Basil Recover
Every leaf cutting puts stress on a basil plant. It needs time to bounce back and regain its strength after each harvest.
Special Attention Right After the First Cut
Feed Immediately. As soon as you snip those first leaves, treat your basil with a well-rounded mineral fertilizer or a universal vegetable fertilizer—use about 1 oz for every 10 sq ft [30 g per 1 sq m].
Another great option is to use worm castings (like these from Amazon) to improve both the plant’s vigor and the flavor of the leaves.
Water Wisely. Basil doesn’t like waterlogged soil, but it still needs regular watering. Drought conditions won’t help it grow those tender, tasty leaves. Before watering, I like to loosen the topsoil so water can soak down to the roots. Using warm, settled water is best.
Stay on Top of Weeds. Weeding is a must so that nothing out-competes your basil. It’s been observed that if basil is choked by weeds—especially in regions with tricky climates—growth comes to a halt.
Mind the Light. Basil loves sunshine, so keep an eye out for taller neighboring plants that could shade it. Purple varieties (like Purple Ruffles or Dark Opal) are especially light-sensitive because they contain less chlorophyll than green basil.
What If Your Basil Starts Flowering?
If you spot flowers forming, pinch them off so your basil won’t put energy into seed development. Don’t toss those lovely blossoms—you can use them creatively:
- Infuse wine vinegar by soaking the basil blossoms in it for about a week, then strain out the flowers to enjoy a fragrant vinegar.
- Add blossoms to tea or olive oil for a fun twist. Seal your oil bottle tightly, store in a dark spot for about a month, and feel free to add more blossoms over that time. You’ll end up with a super-charged, flavorful oil.
Here is a helpful video about pinching young basil.
When to Remove Basil from the Garden for Good
Basil typically produces fresh growth right up to mid-September. You can leave it in your garden until the first frosts, but there’s not much point because new leaves are sparse in the cooler fall weather and often lose some flavor. By then, the older leaves can become bitter, tougher, and less aromatic.
If the weather stays mild, keep your basil going until late September. On a nice day, cut the entire above-ground portion of the basil, bundle it, and hang it up to dry. Then turn over your soil and prep it for spring plantings.
Some gardeners dig up their basil, move it into pots, and bring it indoors for winter. They cut it back to rejuvenate the plant and give it a second life.
Basil can grow on a windowsill, but you’ll need a grow light to keep it happy—particularly if you’re trying to keep purple varieties healthy, since they grow about 1.5 times more slowly than green basil.
Preserving Basil for Winter
If you end up with more basil than you can use fresh, you have three main preservation methods: drying, freezing, or canning. Pick the one that fits your style (or do them all!).
How to Dry Your Basil
Natural air-drying works well when the weather is warm and dry. If fall is soggy or chilly, use an oven or an electric dryer.
- Dry in Bunches. Tie sprigs of basil together and hang them in a well-ventilated room. The drying process takes about three days this way.
- Separate Leaves. You can also lay individual leaves on a tray, cover them with cheesecloth to keep bugs away, and set them in a warm, dry area. Occasionally shuffle them around for even drying.
- Oven Method. Spread leaves on a baking sheet lined with parchment paper. Dry them at 113–122°F [45–50°C], keeping the door slightly open. It usually takes about an hour.
- Electric Dryer. This is convenient because you can dial in the temperature—set it to 104°F [40°C] for about 60 minutes, and you’re good to go.
Freezing and Storing in the Freezer
You can freeze basil leaves fresh, though some folks blanch them first. Blanching kills off harmful microbes, removes bitterness, and helps leaves retain their texture. Simply rinse your basil, place it in a strainer or colander, and dunk it in boiling water for no more than five seconds.
Then cool the leaves by running cold water over them or submerging them in ice water. Pat them dry with a paper towel before putting them in the freezer.
Freeze in single-use portions using sturdy zip-top bags or plastic containers with tight-fitting lids. Avoid refreezing. Basil does best at a steady temperature of 0°F [-18°C] or lower.
Canning in Jars
Start by blanching the leaves in salted water. Then pack them into small, pre-sterilized jars. Press down lightly to release some juice. Next, sterilize the jars filled with basil in a water bath for about 20 minutes. Finally, seal them with metal lids.
Keep Those Basil Leaves Coming
You can harvest basil throughout the summer, either by plucking leaves as needed for meals or doing a full cut-back three times during the season.
If you want your basil to keep producing after each harvest, remember to feed, water, and weed on schedule. Freeze or can the extra leaves—either fresh or blanched—so you can savor that summer-fresh taste even when the weather cools down. Enjoy!