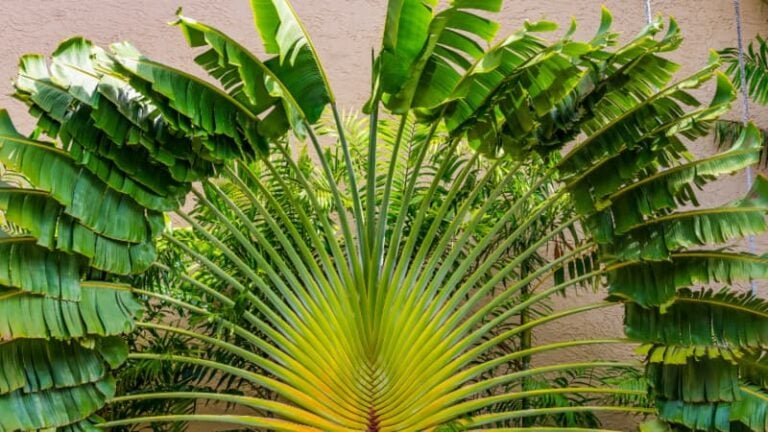
You’re growing some houseplants, and one of them takes a tumble. Don’t panic, but be concerned – after all, you’ve taken the time and effort to care for these little guys.
I’ve got some tips for you on what to do when your precious plant has been knocked over. Take a deep breath and read on for actionable steps and helpful checkpoints.

3 checkpoints and countermeasures when Your Plant Goes for a Tumble
Plants are notoriously uncoordinated, so it’s no surprise they often take a spill.
Whether you accidentally bump into them while cleaning or your furry friend decides to use them as a launchpad, a falling plant can be a real bummer.
But fear not! Here are three checkpoints to remember when your plant takes a tumble and some handy countermeasures.
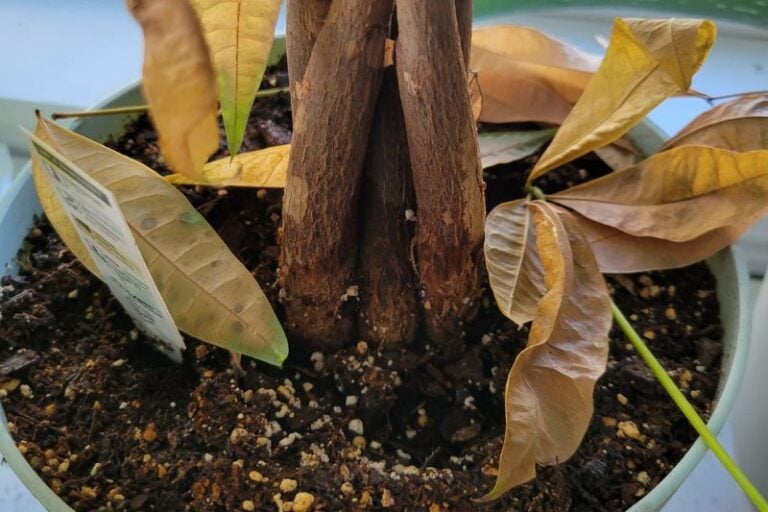
1- Check for Damage to Branches And Stems
First things first: assess the damage. It’s like triage for your plant. Check those branches and stems from seeing if they’re still intact. If they’re bent or broken, it’s time to play plant doctor.
How to Fix
If you’ve got a bendy stem on your hands, try reinforcing it with floral tape. It’s like a tiny cast for your plant.
And if your plant is feeling a little wobbly, give it a helping hand with some string or a support pole.
Think of it as a plant walker. Just make sure to remove the support once your plant feels more stable.
But if your poor plant has taken a beating and its leaves look worse for wear, it might be time for a little plant surgery. Use gardening scissors or a cutter to cut below the damaged part.
And if you’re feeling extra green-thumbed, you can even use those cuttings to grow a whole new plant. It’s like plant cloning but less creepy.
2- Check to see if the amount of soil has decreased
When your plant takes a tumble, it’s not just the plant that’s a mess. There’s soil everywhere, like a tiny plant crime scene. So, assessing the soil situation is important to ensure your plant can still thrive.
How to Deal with the Problem
If you’re dealing with a small amount of spilled soil, there is no need to panic. It’s like a little dirt sprinkle.
But if your plant has spilled more soil than a toddler at the beach, it’s time to take action.
First, make sure those roots aren’t exposed. It’s like making sure your plant’s underwear isn’t showing. If the roots are showing, cover them up with some fresh soil.
And if your plant feels a little wobbly, add more soil to stabilize it. It’s like plant shapewear.
But here’s the catch – don’t just shovel the old soil back in. That soil could be full of gross stuff like dirt, dust, and pathogens.
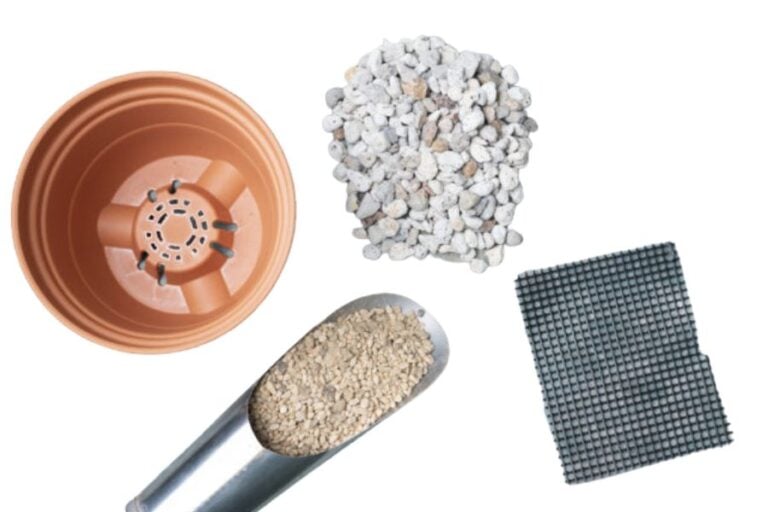
Nobody wants that in their plant’s home. So use some fresh, clean soil that you’ve got stored away, or take a trip to your local gardening store to stock up.
And if you’re dealing with a full-on soil spill disaster, it might be time to consider replanting. It’s like redecorating your plant’s house.
A fresh start, a new look. Who knows, it might just be what your plant needed to spruce up its space.
3- Check the pot for cracks and splits
Let’s face it; a falling plant is like a little natural disaster. And just like in the aftermath of a hurricane, it’s time to assess the damage.
Check that pot for any cracks or splits. If the pot looks worse for wear, it’s time to take action.
Remedial Action
Now, you can relax if the cracks are small or the pot is chipped. It’s like a little battle scar. But if your plant’s home looks more like a shattered vase than a pot, it’s time to repot that bad boy.
But timing is everything, my friend. You don’t want to be that person who throws a party during a hurricane, right?
So remember that the best time to repot is during the growing season, from May to October. You want to ensure your plant is in peak physical condition before shuffling it around.
But what if your pot gets cracked during the winter? We all know winter is the season for hibernating, not for redecorating.
So if you must repot your plant during the winter, keep the “root ball” intact. It’s like a plant ball of yarn.
And when you’re done repotting, find a cozy spot for your little plant to recover. You don’t want to throw it into a new environment like it’s on a reality TV show.
Be gentle and keep an eye on your plant’s progress. You’ll be back to your usual routine in no time!
Key Takeaways
It happens to the best of us, but don’t panic! You should do three things to ensure your plant stays healthy and happy.
Are the branches and stems damaged?
First things first assess the damage. It’s like checking for a sprained ankle after a fall. Look at the branches and stems from seeing if they’re bent or broken.
If they are, it’s time to put on your plant doctor hat and take action.
Has the amount of soil been reduced?
Next up, check that soil. Has it spilled out? There is no need to worry if it’s just a little sprinkle. But if it looks like a dirt explosion went off, it’s time to take action.
Ensure the roots aren’t exposed and add some fresh soil if needed. It’s like giving your plant a little soil spa treatment.
Are there any cracks or breaks in the pot?
Finally, check that pot. Are there any cracks or breaks? If the pot looks worse for wear, it’s time to repot that baby.
But don’t worry; it’s like a little home makeover for your plant. Keep the timing in mind – the best time to repot is during the growing season.
If you take the proper measures, your houseplants should bounce back quickly. It’s like a little plant emergency, but you’ve got this!