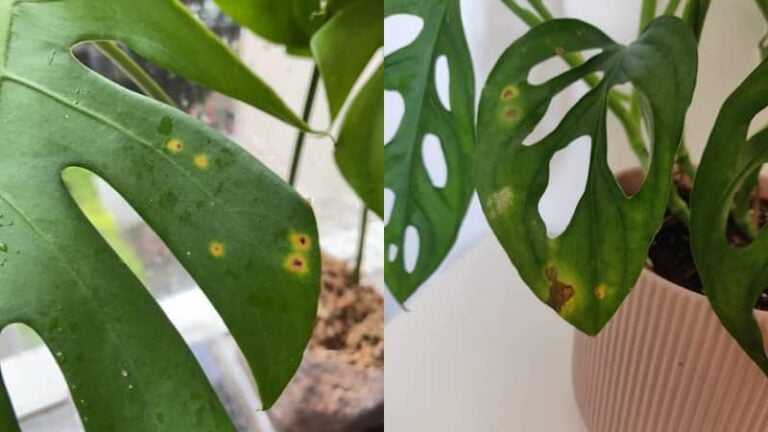
Whether you’re sporting a big, bold Monstera deliciosa or the more delicate trailing Monstera adansonii, the time will come when you need to re-pot.
These tropical wonders grow magnificently indoors, quickly outpacing their original nursery pots.
Re-pot only when needed to minimize stress to your Monstera, preferably during the growing season. Handle with care to avoid damaging roots. After transplanting, watch your water levels, and consider a root growth promoter for best results.
Re-potting any plant is stressful. So let’s take a look at how we can manage that stress and prevent transplant shock.
Contents
What is Transplant Shock?

Transplant shock is a dramatic but temporary condition that can affect monstera plants immediately after re-potting.
The roots of no plant enjoy being removed from the comfort of their growing medium. As a result, they react poorly to handling, becoming stressed and unable to complete their task.
Regardless of how tough they appear, the delicate work of absorbing water and nutrients from the soils around them makes them vulnerable.
When roots are stressed, they no longer function optimally. Therefore, it will take some time for them to recover and absorb the water and nutrients that your Monstera requires to thrive.
As a result, transplant shock resembles dehydration. It manifests primarily as limp leaves, giving your plant a floppy, yellowing, under-watered appearance. Still, it can also cause slow growth and disease.
How to Prevent Transplant Shock
Know When to Transplant

Monstera is an aroid. These daring climbers can be found in tight nooks and crannies in rain forest floors and even tree canopies in the wild. If nothing else is available, they’ll take root in a handful of crumbling leaf litter.
Big, roomy pots aren’t necessary for your indoor Monstera. Instead, allow your Monstera to become root-bound before re-potting.
Younger plants should be potted once a year to encourage growth, but larger specimens can be left for up to two or three years, depending on the size of the pot.
If your Monstera is suffering from the adverse effects of over-watering, you may want to re-pot it. Sodden, fungal-infested soil should be replaced with a new, well-draining medium.
If your Monstera is suffering from overwatering, this step-by-step guide will assist you in saving the plant.
Try Not to Disturb Roots
Your Monstera’s roots are its primary source of nourishment. While the leaves steal the show, the roots supply the water and nutrients required by the leaves for your plant to feed itself.
Your Monstera will struggle to get the nutrients it needs from the growing medium if the roots are damaged. Unfortunately, this also opens the door to infection and rot.
This is doubly true if you’re using the new pots as a remedy for over-watering or disease.
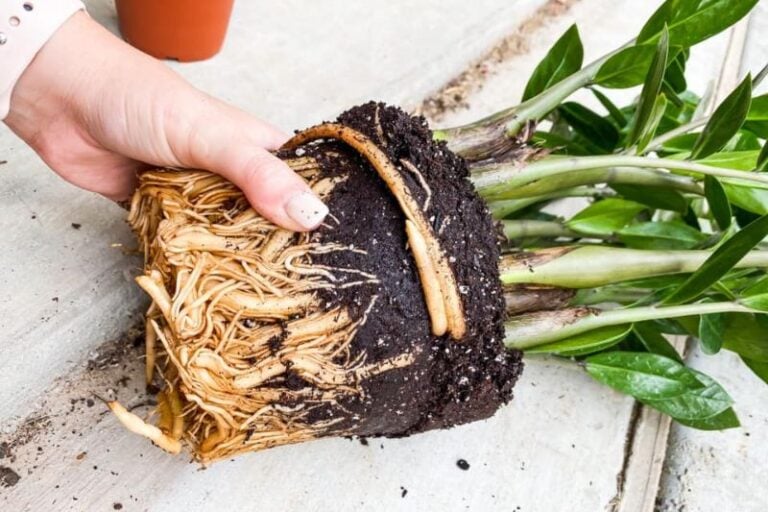
Don’t be too rough with your roots. Gently break up root masses. If the growing medium is exhausted, consider placing the root system in a basin of water. This prevents the roots from snapping under their own weight.
When loosening roots, be careful not to get carried away. If water can pass through the root mass, it will function. So, you may not even need to loosen the roots at all.
Take As Many Roots As Possible
Your Monstera’s roots are its primary source of nourishment. While the leaves steal the show, the roots supply the water and nutrients required by the leaves for your plant to feed itself.
Your Monstera will struggle to get the nutrients it needs from the growing medium if the roots are damaged. Unfortunately, this also opens the door to infection and rot.
This is doubly true if you’re using the new pots as a remedy for over-watering or disease.
Don’t be too rough with your roots. Gently break up root masses. If the growing medium is exhausted, consider placing the root system in a basin of water. This prevents the roots from snapping under their own weight.
When loosening roots, be careful not to get carried away. If water can pass through the root mass, it will function. You may not even need to loosen the roots at all.
Remove The Dead Parts of The Plant
Re-potting is an excellent opportunity to conduct a health check on your Monstera. We don’t inspect our houseplants from root to tip very often. Also, re-potting is a perfect opportunity to trim back old leaves and stems.
Use sterilized shears or scissors to remove brown leaves and dry, crisp stems. I prefer to start at the bottom and work my way up, especially with trailing Monstera like the Monstera adansonii.
Dead and dying leaves and worn-out stems stand out when repositioning on trellises and poles, making them easy to identify and remove.
Do Not Transplant During Dormant Period
They thrive in the tropics, where temperatures are consistently high. This is the time of day when they are most potent. The best time to re-pot a root-bound Monstera is spring and summer.
Tropical plants go into hibernation during the winter months. As a result, growth slows, becoming less responsive to change.
A hibernating plant does not want to be relocated like a sleeping person does not want to be relocated forcefully.
If you leave your dormant root-bound Monstera in a tight pot for a few months, it won’t suffer at all. Wait until the weather warms up in the spring, and your chances of transplant shock will be significantly reduced.
However, there are times when we are unable to do so. Sometimes you need to take immediate actions such as re-potting with rotten roots. Also, make sure to use fresh new soil and pot or disinfect the old pot.

Take advantage of the warmest part of the day when re-potting plants to treat root rot. As part of your treatment, you should avoid exposing your Monstera’s roots to cold air.
If Roots Are Removed, Trim off Top Portion of the Plant
Even if it’s not ideal, removing roots is sometimes necessary. For example, re-potting to treat rot will inevitably result in root loss. Removing rotten roots prevents infection spread but often removes healthy roots as well.
Pinching off new growth at the top of your Monstera will give it time to heal. As a result, your plant will put its energy into re-establishing its roots rather than producing new leaves.
This is an excellent opportunity to have some extras on hand because Monstera grows readily from cuttings, so take advantage of this!
A new cutting from a damaged plant may fare better in the re-potting process than a plant with damaged roots.
Make a cut at the node of your Monstera below a leaf cluster. This is the point at which your Monstera produces both leaves and aerial roots.


Once you’ve placed it in a container of water and provided it with ample light, you’ll have a new plant in no time.
Apply A Root Growth Promoter
You can help your Monstera during re-potting by providing it with the right nutrition boost.
A root growth promoter contains hormones that encourage new root formation, as well as nutrients that help your plant adapt to its new environment. (Check out the prices on Amazon here)
On the other hand, Using too much fertilizer can burn your Monstera’s already damaged roots and increase the likelihood of developing transplant shock.
Therefore, I recommend diluting the fertilizer half the strength of the package instruction.
Water Carefully Before and After Transplanting
Root-bound Monsteras benefit significantly from a thorough soak before re-potting. In general, wet soils are easier to work with because roots are less brittle and more likely to break in dry soils.
Drench your new growing medium once you’ve transplanted your plants. This begins the process of releasing nutrients from your mix and allowing your newly potted Monstera to adjust to its new environment.
Once you’ve watered it thoroughly, it’s best to let it dry out completely before watering again. Soggy soils are bad for Aroids of all kinds, but Monstera does not do well in it.
Roots that have just been transplanted are particularly susceptible to fungal infection. Roots can be damaged even with the most careful of hands. You can prevent fungal invasions by letting the mix dry completely.
In many cases, the symptoms of transplant shock resemble those of under-watering. Your Monstera’s distinctive leaves will begin to wilt if the roots are under stress.
Don’t be tempted to soak your poor plant. All this does is invite root rot, even in otherwise healthy plants.
Keep An Eye on Transplanted Monstera
Even if you take every precaution, your newly transplanted Monstera is likely to show signs of stress. Wilting is the most apparent symptom.
In addition, your Monstera’s roots have been damaged, and this is the best way to tell if it’s in good health.
It won’t be long before you start to see progress if you’ve been careful. In a week or two, your Monstera should be fully recovered.
Tropical superstars recover quickly with proper care. You should be able to enjoy the beauty of the leaves once again as they return to their former glory.


