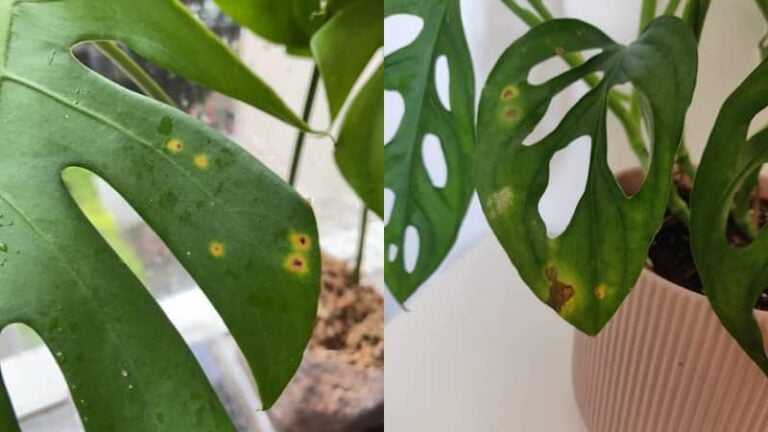
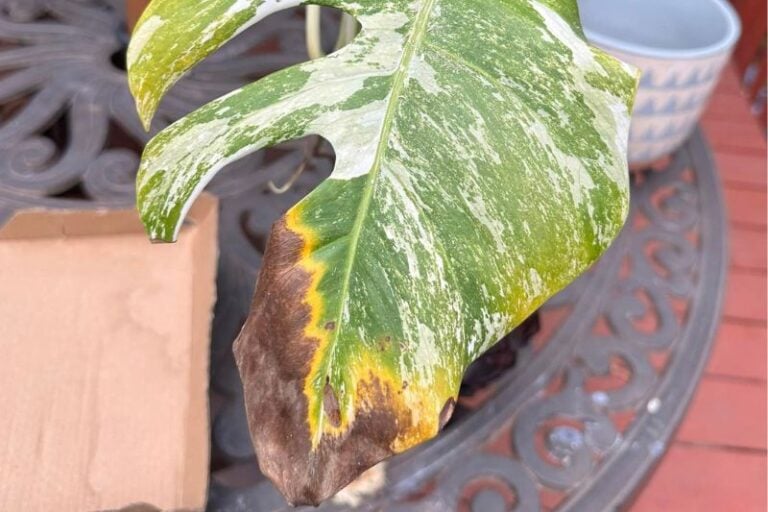
The Monstera is most active in the summer, with a burst of new growth from top to bottom.
The question is, with all this vigor, is summer the right time to repot a Monstera? Is it better to postpone it until the spring or fall? What if your plant is sick or your pot is broken?
Summer is an excellent time to repot Monsteras of all varieties. Warm weather will aid in preventing transplant shock and ensuring successful outcomes. During this time, repotting is especially beneficial for plants that have become root-bound.
Let’s consider how and why the summer is the best time to help your Monstera find a new home.
Contents
Is Repotting Monstera Harmful?
Almost everything it needs to thrive is contained within the pot of an indoor Monstera. The growing medium must provide nutrition, appropriate water, and a secure location to anchor itself.
The Monstera eats up the nutrients in the soil with each new leaf and shoot. As a result, growth will eventually slow down when there is no fertility.
Every year, young Monstera plants require new soil. However, every two or three years is ideal once they’re bigger.
The year’s warm weather is the ideal time to repot your Monstera spp. You’ll provide it with exactly what it requires, just as it’s about to explode with growth!
Repotting can sometimes be an essential part of your overall care plan. For example, a Monstera that has been overwatered will often need to be repotted to remove the waterlogged soil.
To combat root-rot and other fungal diseases, repotting is also necessary. The removal of infected growing medium is critical to the recovery process.
Should I Repot Monstera After Purchasing It?
There’s no need to repot your new Monstera if it’s growing well in a well-draining medium in an appropriately sized nursery pot. The nursery pot is the best option if you’re looking for a dazzling decorator pot to go with your new plant.
This is due to the difficulty of repotting Monstera. Even the gentlest handling can damage them and put them in danger of transplant shock.
Monstera’s ability to absorb nutrients from the growing medium is compromised when its roots cease to function. I go into greater detail about reducing transplant shock here.
However, if the medium is wet and poorly drained or your newly purchased plant is already rootbound, it is best to repot it.
It is also necessary to replace a nursery pot if it has become damaged or has too few drainage holes to function. Finally, if you’ve saved a root-bound plant, it’s a good idea to repot them for their own good.
Think about what’s going on with your Monstera when making decisions.
When Is The Best Time To Repot Monstera?
Repotting is an essential part of Monstera care, and it’s best to do it in the summertime. Take advantage of a nice, sunny day, and if possible, one with some humidity in the air. This will lessen the impact on the roots and increase your chances of a quick recovery.
If you have sick or overwatered plants, you need to act quickly. It doesn’t matter what season it is; re-pot immediately.
Repotting in the hottest part of the day and using lukewarm water to rinse stricken roots are two ways to lessen the shock. You’ll also need to keep it somewhere warm and humid while it heals.
How To Repot Monstera In Summer
Choosing a Monstera Potting Mix
- Prepare the growing medium first. Monstera is aroids, which evolved to thrive in the loose-leaf litter accumulates around rainforest trees. Their growing medium must be just as light, loose, and well-drained.
- You’ll need to add a few unique ingredients to an ordinary potting mix to avoid smothering the roots.
- We begin with coco coir, also known as peat. This keeps the Monstera well-hydrated, and as the plant matures, it will decompose to provide nutrients.
- Perlite is a volcanic stone that has been heated to the point where it pops, almost like popcorn. As a result, it’s airy and light.
- Adding perlite to a mix ensures that the Monstera’s roots will always be able to breathe, no matter how old the mix is. You can use it in nearly any indoor soil mix you want. (Check out the prices on Amazon here.)
- Orchid mix completes the recipe. There are large bark or wood chip pieces in this rough, chunky growing medium. (Check out the prices on Amazon here.)
- It creates a loose soil structure that encourages strong root growth in your plants. It also drains well, and it’s common for even low-cost orchid mix to include slow-release fertilizer. It’s a great addition to aroid blends.
- I prefer to combine two parts of standard potting mix with one part of coir or peat, orchid mix, and perlite. This results in a blend with excellent texture, fertility, and drainage.
Choosing The Right Pot For Monstera
Drainage holes are the most critical component of any high-quality pot. A minimum of three should be present in your new pot, evenly distributed around the bottom. Wet feet are a no-no for any Monstera.
Another aspect to think about is the overall size. For example, a new pot for a root-bound plant should not be wider across the top than the old one by more than two inches.
While it may be a good idea to choose the largest pot your space allows, an overly large pot is a hazard. Over-watering, root rot, and fungal disease are all things that they promote.
In the case of a sick plant that needs to be re-potted, use a fresh pot of the same size to avoid spreading root rot. It’s pointless to re-pot an ill plant in a pot that’s already infected.
Repotting Monstera
Now that you have a fresh medium prepared and a new pot ready, it’s time to start potting.
You’ll also need a pair of shears or scissors and plenty of clean water in addition to these two essentials.
Re-potting:
- To begin, thoroughly soak the Monstera. This will aid in the protection of the roots.
- Fill the new pot with the medium until it is one-third full.
- Tap the old pot’s walls to loosen the Monstera, then carefully slide it free.
- Loosen the root mass slowly. It’s time to inspect the roots of a sick plant and remove any dead or damaged before repotting.
- Remove the exhausted growing medium by rinsing the roots with clean water.
- To repot the Monstera, simply place it in the new container and add fresh potting soil around the root ball. If you’re using a moss pole or stake, insert it close to the base of the most giant stem to avoid damaging roots.
- Once the Monstera has stabilized, give it a quick tap on a hard surface. This will help the mixture to settle, and you may need to add a few more handfuls of medium to the top to achieve this.
- Finally, water the Monstera thoroughly with clean, lukewarm water. Before returning it to its original location, allow it to completely dry out.
Expect some droop from your Monstera, no matter how tender you are with it. Not to worry, though. It won’t take long for these hardy plants to recover if you’ve been gentle.
Repotting A Large Monstera
Monstera can grow to enormous sizes. Monstera deliciosa, with its vast leaves and thick vines, is one of the most extreme examples of this. This makes repotting a real challenge!
The fundamentals of repotting are the same. No matter how big or small your Monstera is, you’ll need a potting medium that’s designed explicitly for aroids. A new pot two or three inches wider across the top than the old one is adequate for massive Monstera deliciosa.
You may also require additional moss pole or stake extensions to help support the plant’s weight and size. They’re climbing vines, after all. If you don’t give them enough support, the vines could break at the base if they get too big or heavy.
I like these stackable moss poles for my aroids. As the Monstera matures, you can add more height to the plant, making it ideal for large plants. (You can see the price on Amazon by clicking here)
Ask a friend to help you with genuinely massive Monstera. No matter how big the plant, the steps are the same. Having a second set of hands will be very important when you need to move an enormous plant or when you need to move tall poles and long vines.
Should I Water Monstera After Repotting?
It is best to give your Monstera a thorough soak right after you re-pot it. This is because you’ll need water to get the nutrients from the new mix to the soil.
Allow the medium to dry completely before watering again. And let the Monstera stretch out in its new home. After some time, it will be putting out new summer shoots, ready to take advantage of its favorite season.


